
 |
| The current look of the Ti Muk 2 |
The first thing I did was to remove the old Busch & Muller stay mounted tail light. That light is a good light, but it is just the wrong application for an adventure bike such as the Ti Muk 2. That old tail light may get repurposed, but that is another project for another time.
During the process of dealing with the tail light, I also delved into the rats nest of wadded up wiring which had been zip tied to the front cable housing. The connections were just twisted together and the leads were waaaaay too long! I had enough wiring from the tail light and the head light to wire up two bikes. Of course, I was going to have to shorten all of that. Then I had to sit down and give some serious thoughts to how I wanted to have the new wiring done. There were several points which guided my decision making process. Instead of laboriously going through each one, here is a bullet point list instead. If anyone has questions about these points, feel free to comment or e-mail me.
- First- The wiring had to be really durable. Able to withstand rain, mud, snow, and rocks.
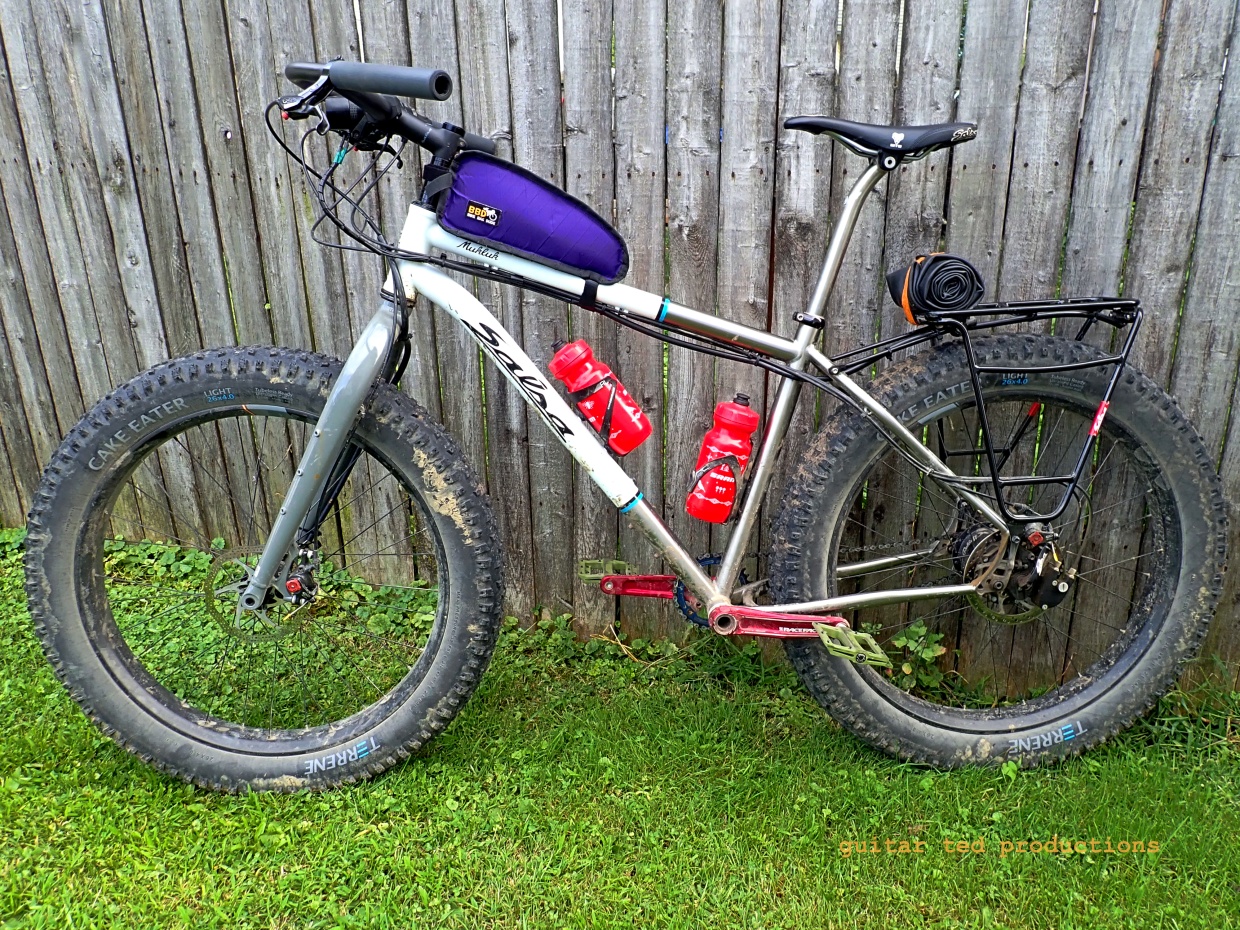
- The wiring had to be clean looking, short as possible, and not interfering with frame bags and pannier mounting.
- I did not require any provisions for rack removal or travel which might require boxing up the bike, etc. This isn't going anywhere unless it gets ridden there, transported by my truck, or via a bicycle car rack. This meant I didn't need to consider adding additional connectors to facilitate breaking the bike down.
- I wanted to reduce stress on wires wherever possible to prevent internal breakdown of the copper strands, and ultimately, failure due to that.
 |
| That SON light is TINY! |
With the light secured to the back of the Salsa Alternator Rack, I then had to sit down and figure out not only where I wanted the wire to run, but how I was going to protect it. This area was going to be getting mud baths, snow/slush thrown around in there, and rocks from gravel roads could easily be flying around back here. While the lead provided by SON is about 20 times better than the flimsy plastic covered wires most dynamo systems use, I wasn't convinced it would survive my brand of fat biking. What to do?
After much deliberation and looking through the enormous piles of bicycle detritus I have, I came upon a great solution. I have, for whatever reasons, about three dead Blackburn floor pumps. (Why do we keep this stuff?!) If I could push the wire through an old hose from a floor pump, then mount that to the bike, it would be ultimate protection for the wire, and I could zip tie that hose without stressing the copper strands inside the lead dress. Cool! So, that is what I did with the tail light lead. It fit in with a bit of room to spare, and my new "rubber conduit" now could be routed from back to front. It would not only protect the lead wires from the elements, but from a rubbing frame bag as well.
This was going to work out well. I was excited to get going on this project, so instead of going to bed early, as I should have in preparation for Gravel Worlds on Wednesday evening, I stayed up until almost midnight wiring the bike up!
 |
| Wiring under the rack and to the top tube of the Ti Muk 2 |
 |
| A view of the business end of all this wiring and cable housing. There is still much to do here. |
I used brand new crimp-on spade connectors and shrink tubing on the connections to the lights and for the connection between the fork wire and headlight. There is a nifty little coaxial connector which looks very robust for the hub to fork wiring, which is available from Peter White Cycling, and at some point I may get that. But from stem to stern otherwise, the new wiring scheme should be very robust.
I did make one minor mistake the first time I got everything back together. This had to do with the light itself. Many readers will remember that when I got this bike that the head light was mounted on the outermost bar of the Carbon Jones Loop Bar. This was fine from a lighting standpoint, but it wasn't good from my perspective when it comes to adventure biking, bashing around in the woods, and the like. That thing cantilevered off the bar, as it was, could have been knocked off easily in a tumble. So, my friend Tony suggested I "hang it down" from the bracket in between the outer "loop" of the Jones Bar and the inner part of the bar.
 |
| The light is oriented correctly and much less apt to be damaged in a tumble in this placement. |
Now instead of simply pointing the mount down, I re-oriented the light correctly with the bracket pointing forward and down. That made all the difference in the world, and actually gets the beam up and out of the cable housings.
So, everything functions as it should, the wiring is far more robust, stable, and better looking. The SON tail light is bright, even without a reflector, and it can be seen from the side quite well also. When I get that Dave's Mud Shovel fender in there, the plan is to have it extend out enough to protect that tail light from splash and flying debris. That should do it for the rear end. I may also get one of those minimalist "fenders" as a splash guard of sorts for the front wiring as well.
When I have ridden the bike several times and I am satisfied with it all, I will then heat shrink the tubing where I have it over connections and seal off the open ends of the old pump hose/conduit with silicone gasket material or the like. Then I should have the "upgrade path" completed.
4 comments:
You can hang the IQ-X headlight and still keep the optics "right side up" - the mounting bracket on the light is a ring that rotates around the housing.
@Marc Pfister- I tried that. It didn't seem to want to rotate, so I did what I did. it's perfectly fine now, so no worries.
I use automotive emission hose to protect my light wiring.
@teamdarb: Yeah, I can see that working well too. Nice idea there.
Post a Comment