|
| Used Velo Orange Campagne Bag |
The former owner of this bag, a Velo Orange branded handle bar bag, offered me a ridiculously low price for it. In fact, I ended up doubling his offer and at that I still think I came away with a bargain. Most decent handle bar bags like this that I can find are well over $100.00 and I paid less than half of $100.00 for this bag which I cannot hardly tell has been used.
So, with that score I came home and tried to figure out just how to attach this thing to the Utility Rack. This bag is meant to be held by a decaleur and I did not buy that since the decaleur would not have worked with the Utility Rack. The good thing was that the bag was drilled, or had holes, for the decaleur mount. I was able to kind of make my own mount which came out pretty well.
Warning: If you are offended by roughed out fixtures and bits, please skip the next section.
If you like tinkering and finding parts to repurpose for other means, as I do, then read on....
 |
| Doing a bit of fab work |
I searched around for a suitable material or bit to make a set of hooks. I also kept an eye out for something to use as a "backbone" across the back end of the bag to give it some place to be attached to as well. In the end I found an old steel fender brace for a cruiser style bike that gave me inspiration.
The steel was rigid for sure, and the ends already had holes, which I could use. My mind went to work, and using a hack saw, a hammer, some drift punches, a bench vise, and some files I was able to fashion a brace and hooks from the old fender brace.
 |
| And there ya go! |
I won't bore you all with the nitty-gritty details of drilling holes, deburring, filing, and attaching the bits to the bag with hardware I had saved over the years. Suffice it to say that the plan worked out and the bag isn't going to randomly come off the bike now. I'll show you why in a bit here.
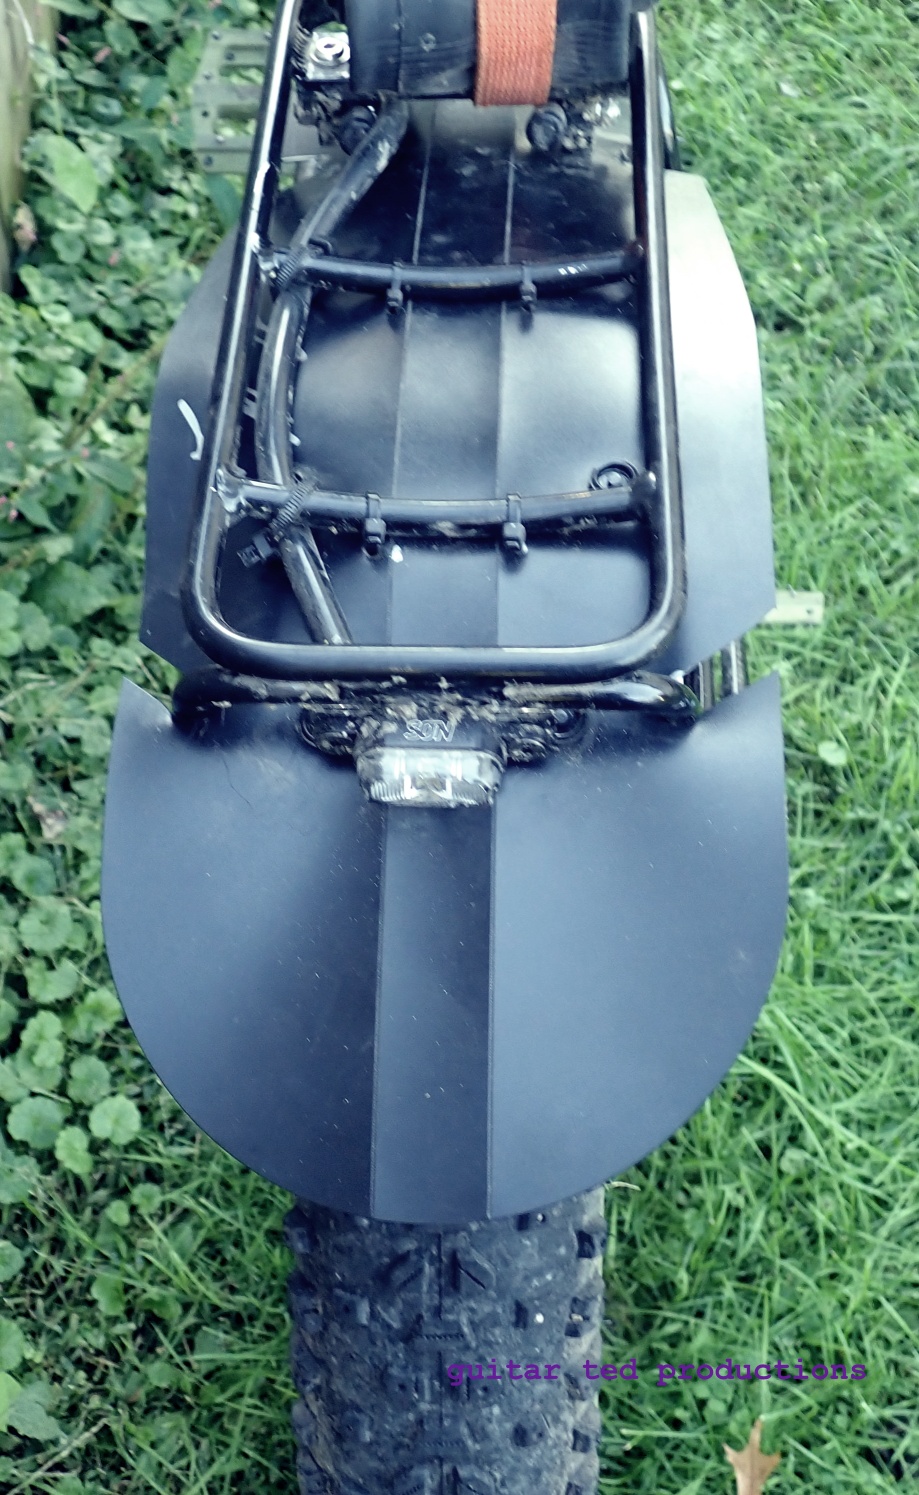
It's uncanny. This bag is perfect for this rack in terms of size. It fits the base like a glove. No overhanging at all, and comes up high enough on the Utility Rack's backstop that the lid opens and closes on the bag with no interference from the rack. It was as if these two items were designed for each other, in a way. Well, besides the fact that the rearward facing pockets are next to unusable and that I had to pretty much invent a way to attach the bag to the Utility Rack!
 |
| A look underneath. |
The bag originally had a sewn in leather bit with a slot that ran perpendicular to the bike's centerline. The old owner had two plastic cable ties through this slot loosely enough that I could run an old toe strap through them and then through the slotted tabs on the Utility Rack. This will keep the bag from bouncing off the deck of the rack.
 |
| And here you can see what is going on up top. |
The hooks and "backbone" I fashioned out of the old fender brace bolted to the bag with water bottle bolts and Nylock nuts and washers. Then I toe strapped the "backbone with downward pressure toward the lower brace of the Utility Bar, drawing the bag down which puts pressure downward on the hooks which are gripping the rack.
By the way, that's a sleeping bag in a dry bag inside the handlebar bag. Lots of "bag" talk there. Sorry! I may put some Presta Valve caps over the ends of the exposed water bottle bolts just to ward off any possibility for those threads to tear something up, but for now, it's not a concern.
 |
| Loaded up for a test ride. |
I loaded up the handle bar bag and went for a ramble around the neighborhood. I rode on gravel, in alleys, on pavement, and across some grassy spaces. Nothing seemed to upset the bag on the rack, so I think this is a go for the time being.
The next test will be a run somewhere to make coffee and then back again. I want to go by gravel to a place I have in mind, but if time gets short I can always run the Green Belt route. We will see. It may not happen right away and if it doesn't next week is a busy week so it would end up getting pushed back into June.
Dang! Half the year gone already!