|
| Gravel Mutt V2 |
Back Story:
Sometime about 5-6 years ago, a man came into the shop where I work with an old Trek, bone stock, to trade. Since the bike was so outdated, and the frame was straight, but pretty rough looking, my boss declined to give anything for the bike. However; the customer decided to just donate it and bought a new bike anyway. Afterward, my boss offered to let me take it since it was my size and he saw no redeeming value in keeping it for parts.
So I ended up with a green, beat up, dirty 1978 Trek. Ishiwata tubing, hand made in the original barn where Trek got its start a year earlier than this frame and fork were brazed up. It's lugged construction is unhindered by braze on cable stops or shifter bosses, so I figured it would make a great single speed.
I dismantled a lot of it, but the project stalled and it hung up on a hook for a long time.
The Challenge: With my disappointment in the "original" Gravel Mutt's high bottom bracket and weird handling, I decided maybe this Trek would work out better. So, I decided at 7:00pm on Friday night to see if I could build a gravel mutt in a night. Game on....
The frame and fork was hanging with brake calipers, bottom bracket, crank, headset, and original seat post and saddle intact, but there were no shifters, derailleurs, handle bars, stem, or wheels. Doesn't sound too difficult, eh? Well, remember- This frame had no braze ons, (besides a chain stay cable stop), and the cable clamps and derailleur stops were all missing.
Fortunately it had nice horizontal dropouts with derailleur hangar and axle adjusters intact. The wheels were originally 27" ones, but my set of polished Velocity A-23's would slot right in no problem. The spacing had already been tweaked out a bit from the original 126mm, so the rear wheel fits fine.
After an aborted attempt to use a SRAM derailleur, I settled on this late 90's era LX unit with green anodized sealed bearing pulleys. The rear wheel was fitted already with a 9 speed cassette with an 11-34T ratio, so the long cage was necessary to take up the chain slack. The one convenient cable stop on the entire bike is shown here.
Okay, with all of that sorted, I had to figure out how to make the bike shift and how to route the cables. I had to go to work, mining the depths of several boxes to try and find a suitable shifting system. It went without saying that with a 9speed set up, I was going to either have to resort to 9 speed STI levers, or go friction and use bar end shifters. While I am not a big fan of STI, I did have that option, but decided going friction was going to have to work. A couple of mis-matched SunTour bar end shifters would do the trick then.
 |
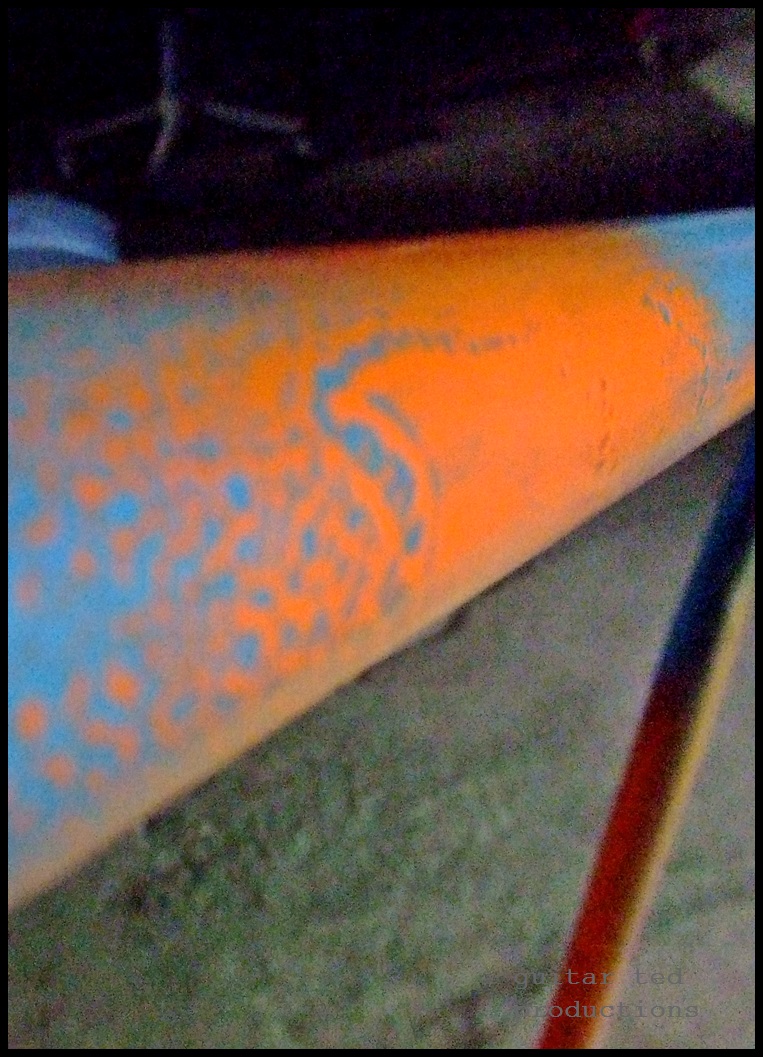
| See that pulley behind the chain rings? |
I had to rummage around quite a while in long forgotten boxes before I located a few key items that were essential in finishing off this build. The first was an old Schwinn stem mounted shifter band with one of the bosses missing. As it turned out, this fit the seat tube perfectly.
I had originally wanted to use this as a direct shifter to a top pull derailleur, but I had to have a bottom bracket cable guide. The piece became a bottom bracket guide out of necessity then. I had an Avid Rollermajig, which provided a pulley, and the axle to the pulley was a bolt that shared the same thread pitch as the boss, so the whole kludge could mount to the seat tube and direct that rear derailleur cable to its destination.
Now I had the cable routing sorted from the rear derailleur to the bottom bracket, but I needed to figure out how I would route a cable from the shifter to a stop and then past the bottom bracket. Back to pouring through the long forgotten boxes. Eventually, I turned up a Simplex down tube shifter mount and shifters. The "carrot stick" shifters would have to go, but the mounts were the basis for the shifter bosses I would come up with.
 |
| Originally purchased at World of Bikes, Iowa City, IA |
The Simplex shifter mounts were crude and I needed to modify them with a proper boss mounted cable stop. Fortunately, since I have purchased a few bar end shifters for things in the past, I had plenty of down tube cable stop/cable adjusters that come in the package with bar end shifters. I used a pair, shimmed the bolt with a washer, and created a hybrid Simplex/Shimano down tube cable stop set up for my shifting set up.
Now there was only one thing missing here, and that was a way to run the front shifter cable to the front derailleur. I was out of bullets, so to speak, when it came to guides, so I just did it the old school way and looped the cable under the bottom bracket shell for now. It won't do any harm until I can track down some decent clamp on guide at work.
I had plenty of derailleur cable housing bits to make it all work, so I strung up everything, and mounted the shifters into the bars which came off my Raleigh Grand Prix fixie set up. The stem is an old quill road bike stem, forged aluminum and anodized, with about as many scratches as the frame tubes have! The bars are silver anodized Gary Bars, which were sold through J&B Importers. I am not sure these are available anymore.
The brakes were next, with the old Dia Compe center pull calipers being used that were original equipment on this frame. The cables had been snipped, so I foraged around and found a long enough one for the rear brake. The calipers had long reach arms, which was good since I had to move the pads lower in the slots to accommodate the smaller 700c wheel set. The pads were no good, or missing, so I swapped in a set of linear pull pads out back and some red Scott Matthauser brake blocks for the front.
The levers were Dia Compe levers with white hoods that were originally destined for the first Gravel Mutt. I ran the housings up to the levers and found out that one critical piece was missing on one of the levers. You see, Dia Compe aero levers from the 80's used a specific ferrule as a cable stop in the lever body. Without it, the levers will not work, and they are easily lost when cables are removed, or if the levers are removed from the handle bars, as they were free floating bits.
Well, I ended up using a linear pull brake pad fixing nut as a cable stop. The housing fit perfectly into the narrower end of the nut that accepts the 5mm wrench, and the flared end is big enough to butt up against the inner part of the perch where the cable exits the lever. Perfect! Another successful kludge!
After carefully adjusting the straddle cable carriers and cinching them down, I had operable brakes and then it was onto the chain. I had a brand spanking new SRAM 9 speed chain that fit perfectly without removing any links. The shifting stops were set, cable tension fine tuned, and I was done. Oh....I should mention that the front derailleur is a SunTour MounTech unit, bottom pull, of course, and came off an 80's era Specialized touring bike. Everything worked well together, and even the old crank with it's 53/42 rings meshed with the chain just fine.
Of course, no braze ons went as far as no water bottle bosses. None. So I spied a set up I had planned to use at the second Dirty Kanza, (which I had to abort going to for lack of training and post T.I.V3 fatigue), which featured two handle bar mounted Minoura bottle cage mounts. I took those off the old alt bar and remounted those onto the Gary Bar with two green Velocity Bottle Traps for cages. Bar wrap was done from one spare roll of white and one red. I figured it would be sort of an Italian flag tricolor look.
The saddle that came with the bike was atrocious, and the seat post was none better. I found out, happily, that the post was a 27.2mm, which meant an easy swap to my Thomson with green Brooks Special fit perfectly.
Details now. Cable crimp ons, adjustments to saddle height, install pedals, and airing up the tires. Testing to see that every bolt was tight. Done! 12:30am and I had it all done. A Gravel Mutt in a single evening. Of course, if you read yesterday's post, you already know it went well. More on Gravel Mutt V2 coming soon, and why certain small details of geometry make a world of difference on gravel roads.


.JPG)