
 |
| Tour Of Duty: Completed |
Essentially, I had roached the drive train and the bottom bracket. The cassette and even the chain rings were worn significantly enough that I felt it would be best to just swap it all out rather than take the risk that the chain rings might not shift or worse.
Replacement parts consisted of a new set of Enduro bearings, a new set of Shimano chain rings in the CX series. A 46T and a 36T. Then I bought a new 9 speed Shimano cassette, an 11-34T range, which is from the mid-range of their series. An HG-something or another. Then I got a 9 speed SRAM chain. I still trust these, but no way will I ever buy another 10 speed one! Okay, so with all the stuff I needed arranged and after I grabbed a few tools, I got to wrenching.
Of course, when you pull a two piece crank set, which is relatively easy, you see all the nooks and crannies where gravel dust has been hiding all that time. Well, you may as well clean it up, right? So after disassembly of the chain rings from the crank arms, I spent quite a bit of time poking around the non-series crank set getting all the dirt outta there.
 |
| I should get this analyzed! |
Anyway, I got the new rings on with no problem, so it was time to move on to the bottom bracket. I have a nice Chris King outboard bottom bracket tool and that thing is so well made it is a joy to use. Fits onto Shimano cups like a hand in glove. Once those got removed, it was time for a bit more cleaning in and around the bottom bracket shell. Like I said, these are places you just cannot get to when the bike is assembled.
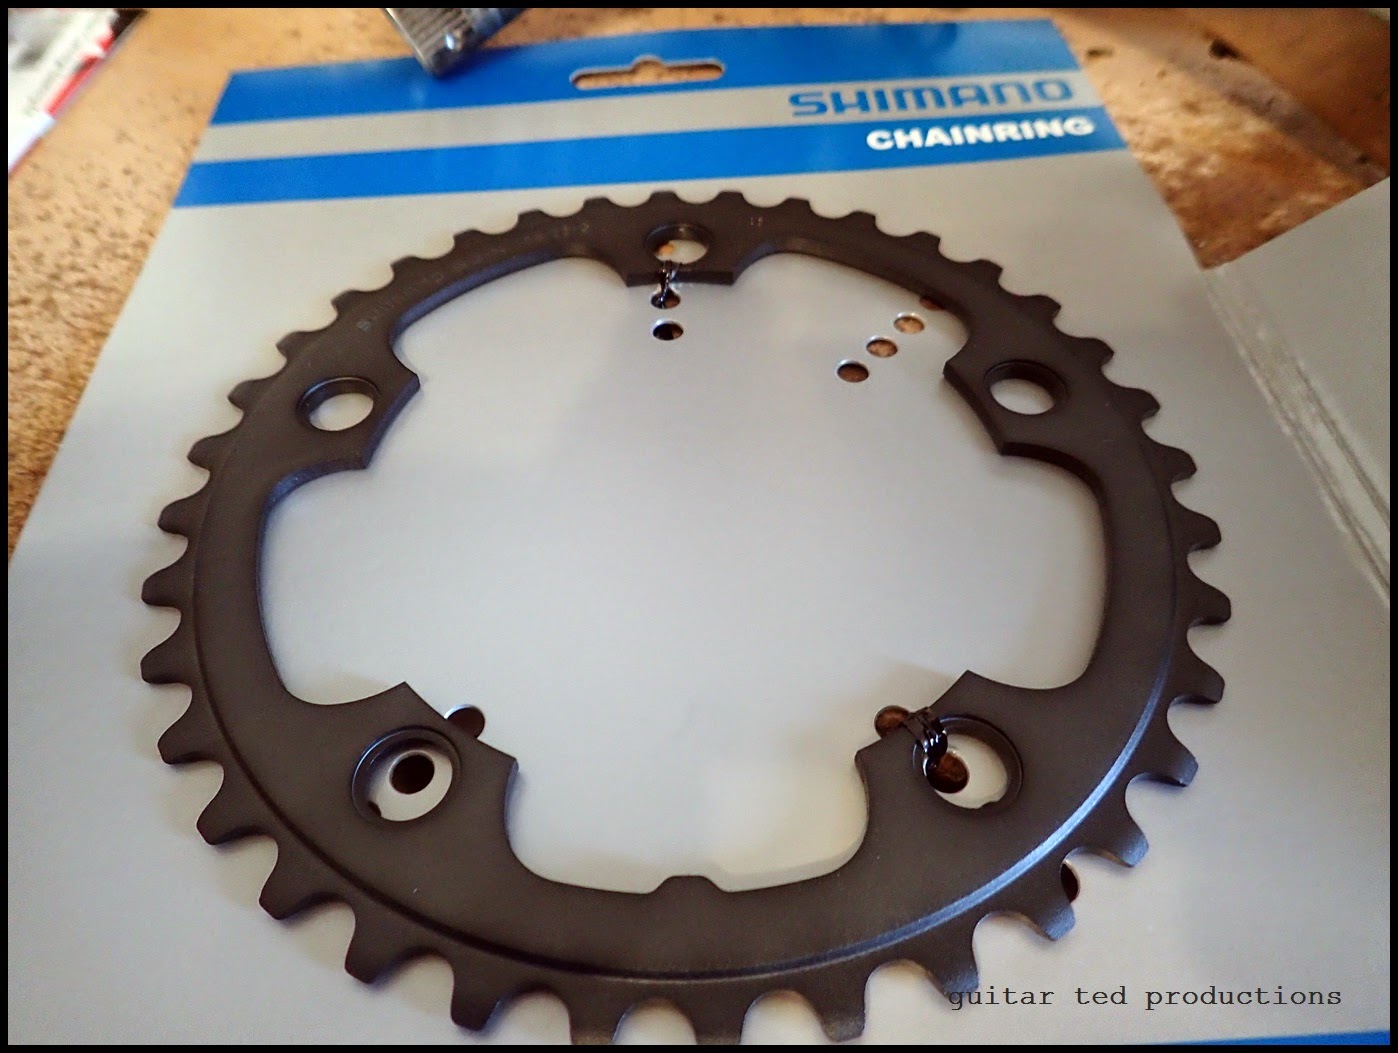 |
| A new Shimano ring- Fit was perfect. |
Then it was time to peel off the plastic shims from the stock Shimano bottom bracket cups. That was tough to do, but being patient pays off and I got them out. Then to knock out the old bearings. I tried to do it in my Lab, but to no avail. So, a trip to the shop was in order.
We have a bearing puller there that we usually use for such jobs which I got out. The set up looked perfect, so I went for it. Then I went for it........ Okay. One more time.......
What the.....?!!
I tried as I might, but those bearings didn't even move one iota in those cups. I assume they were frozen in there, because I had done some wet weather riding, and last Spring I rode through some low water crossings. Whatever the case might be, I wasn't separating those bearings from those cups without doing some major damage, which would have been time consuming and counter productive to using the Enduro bearings. Bah! Plan B then......
 |
| All cleaned up and ready to reinstall |
So, I got home and, of course, everything went together beautifully. The ol' Orange Crush is ready to go for the gravel season ahead. I'm still running the HED Ardennes wheels and folding bead Nano 40's on it. This will go toe to toe with my Nano 40 TCS set of wheels to see what, if any differences there are. I suspect that the tubeless Nanos will be smoother, but I'll know shortly.
The weather is about to turn here. 40's are predicted all next week, and that is warm enough now to do some longer miles out in the country. My health is slowly improving, and Daylight Savings Time kicks in this weekend. Yep! Like the GoDaddy commercial says: "It's Go time!"


